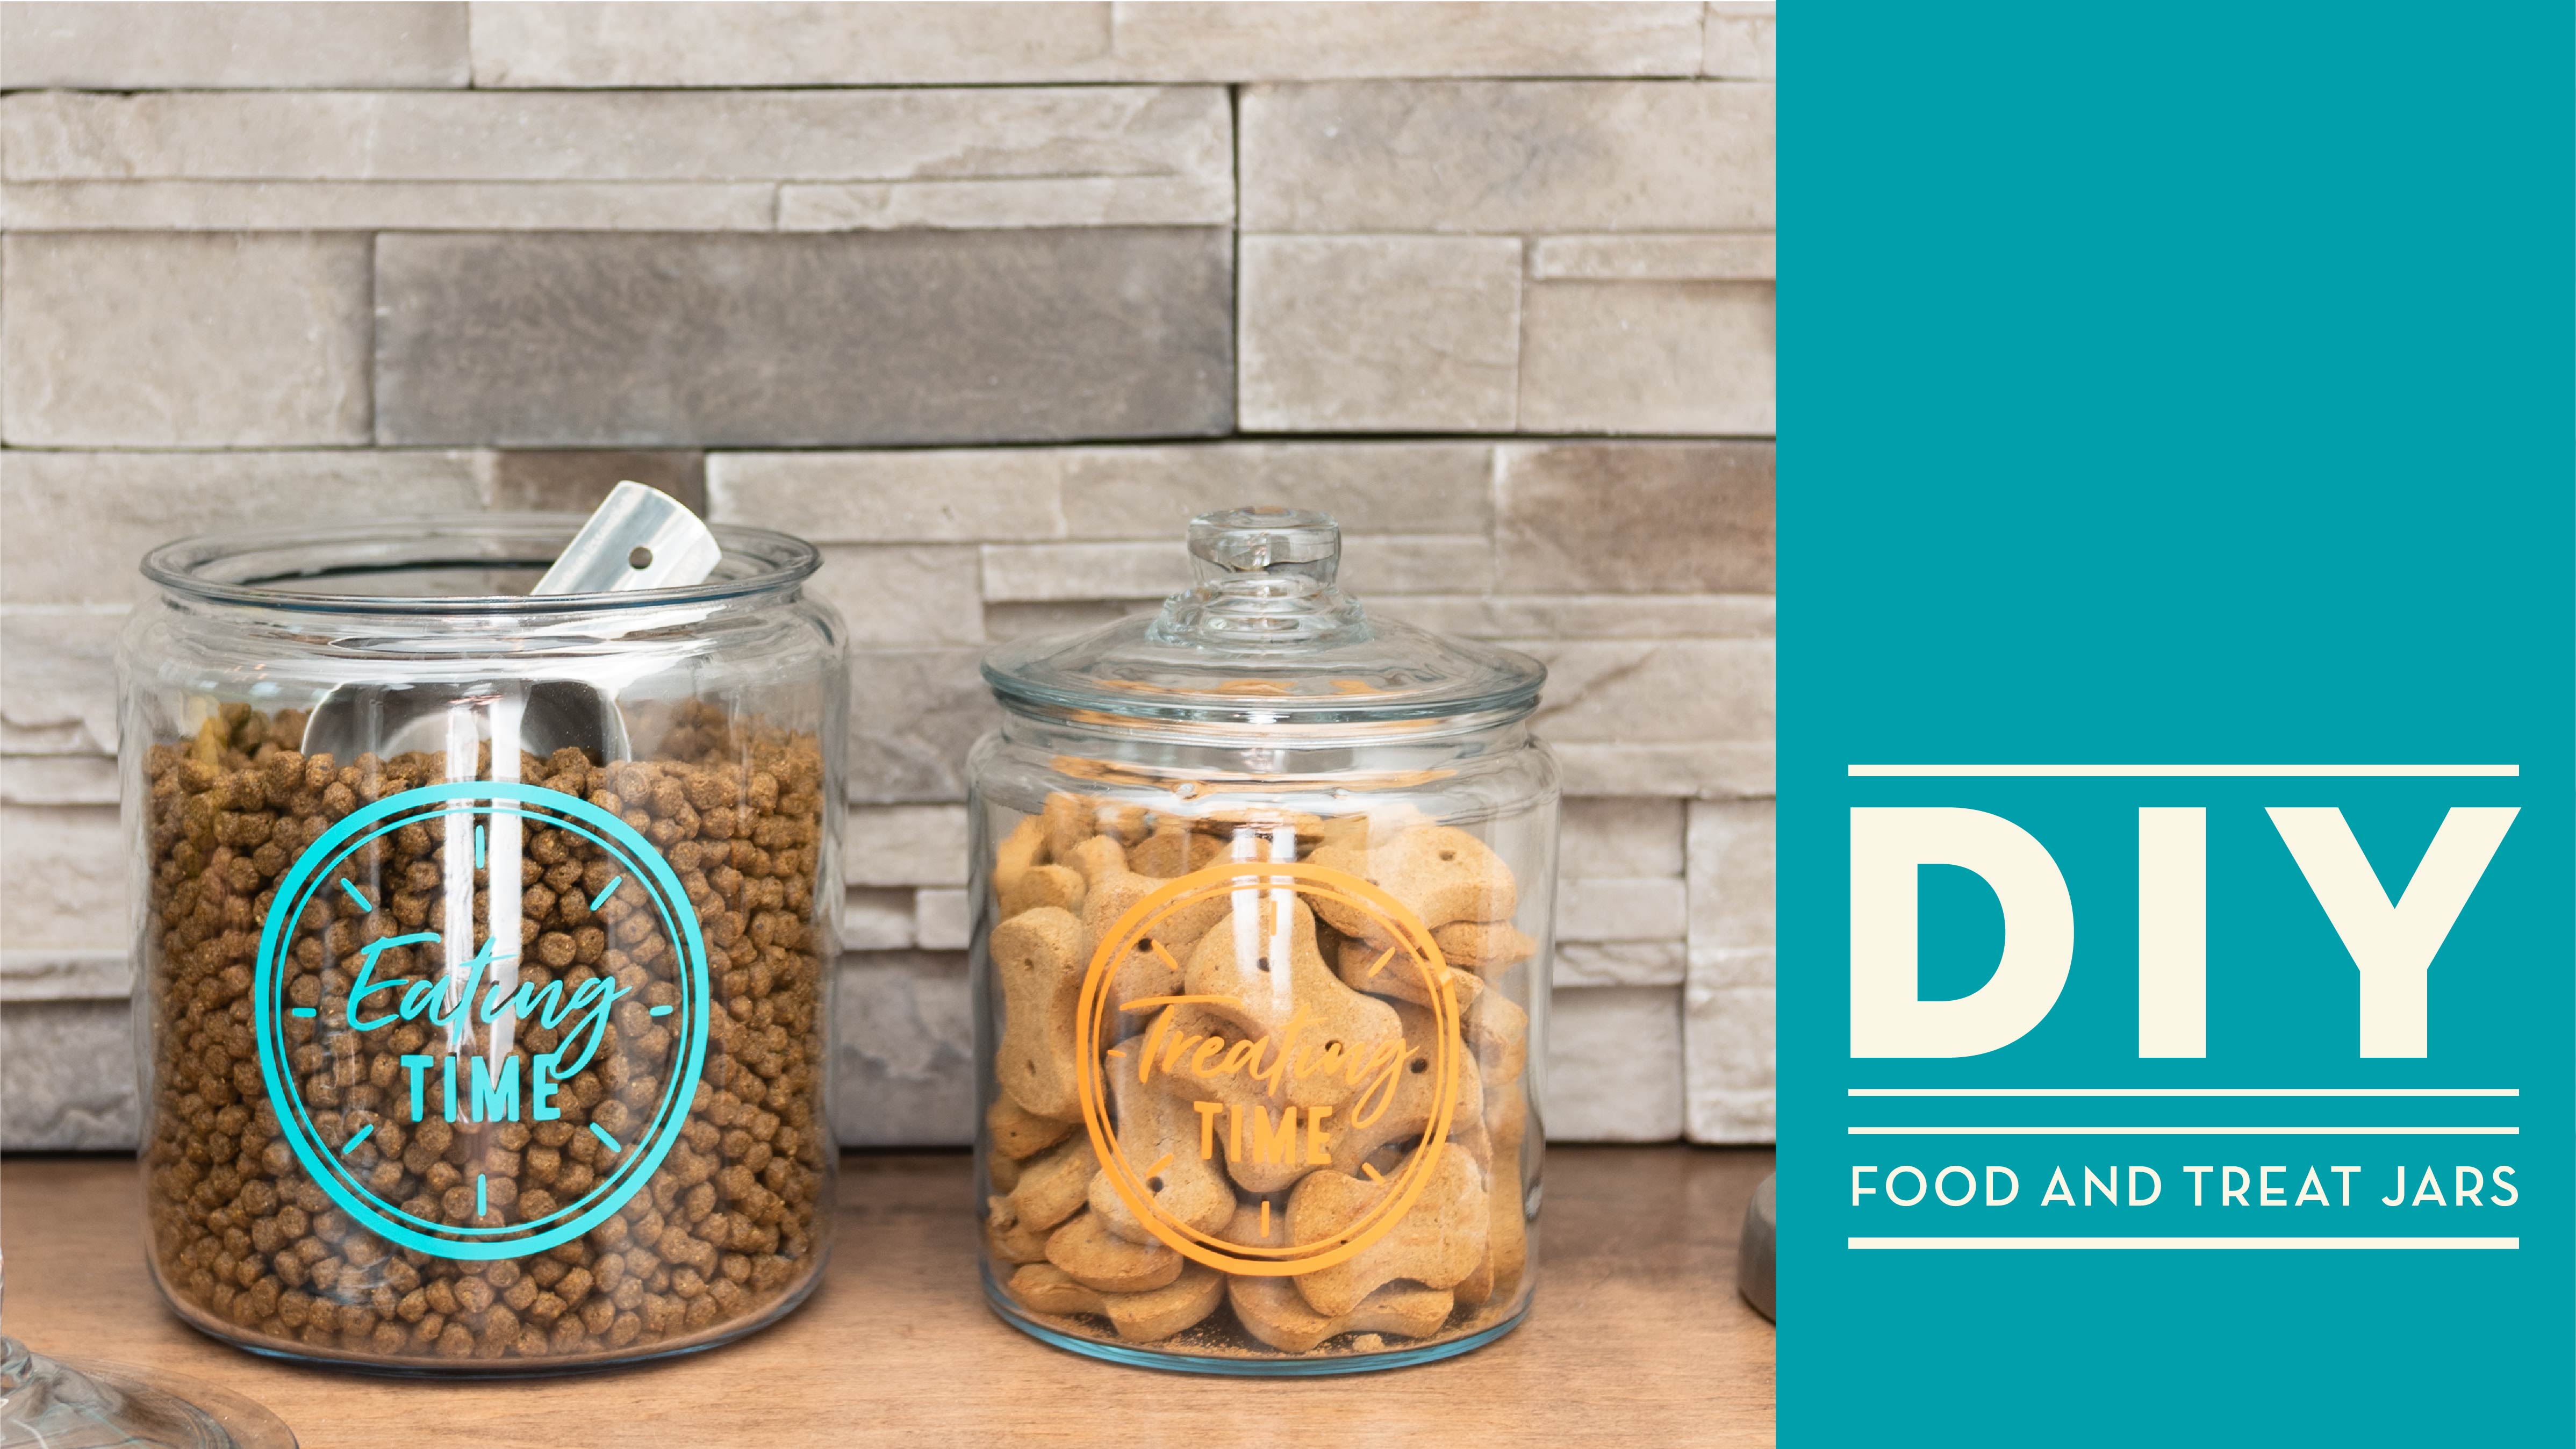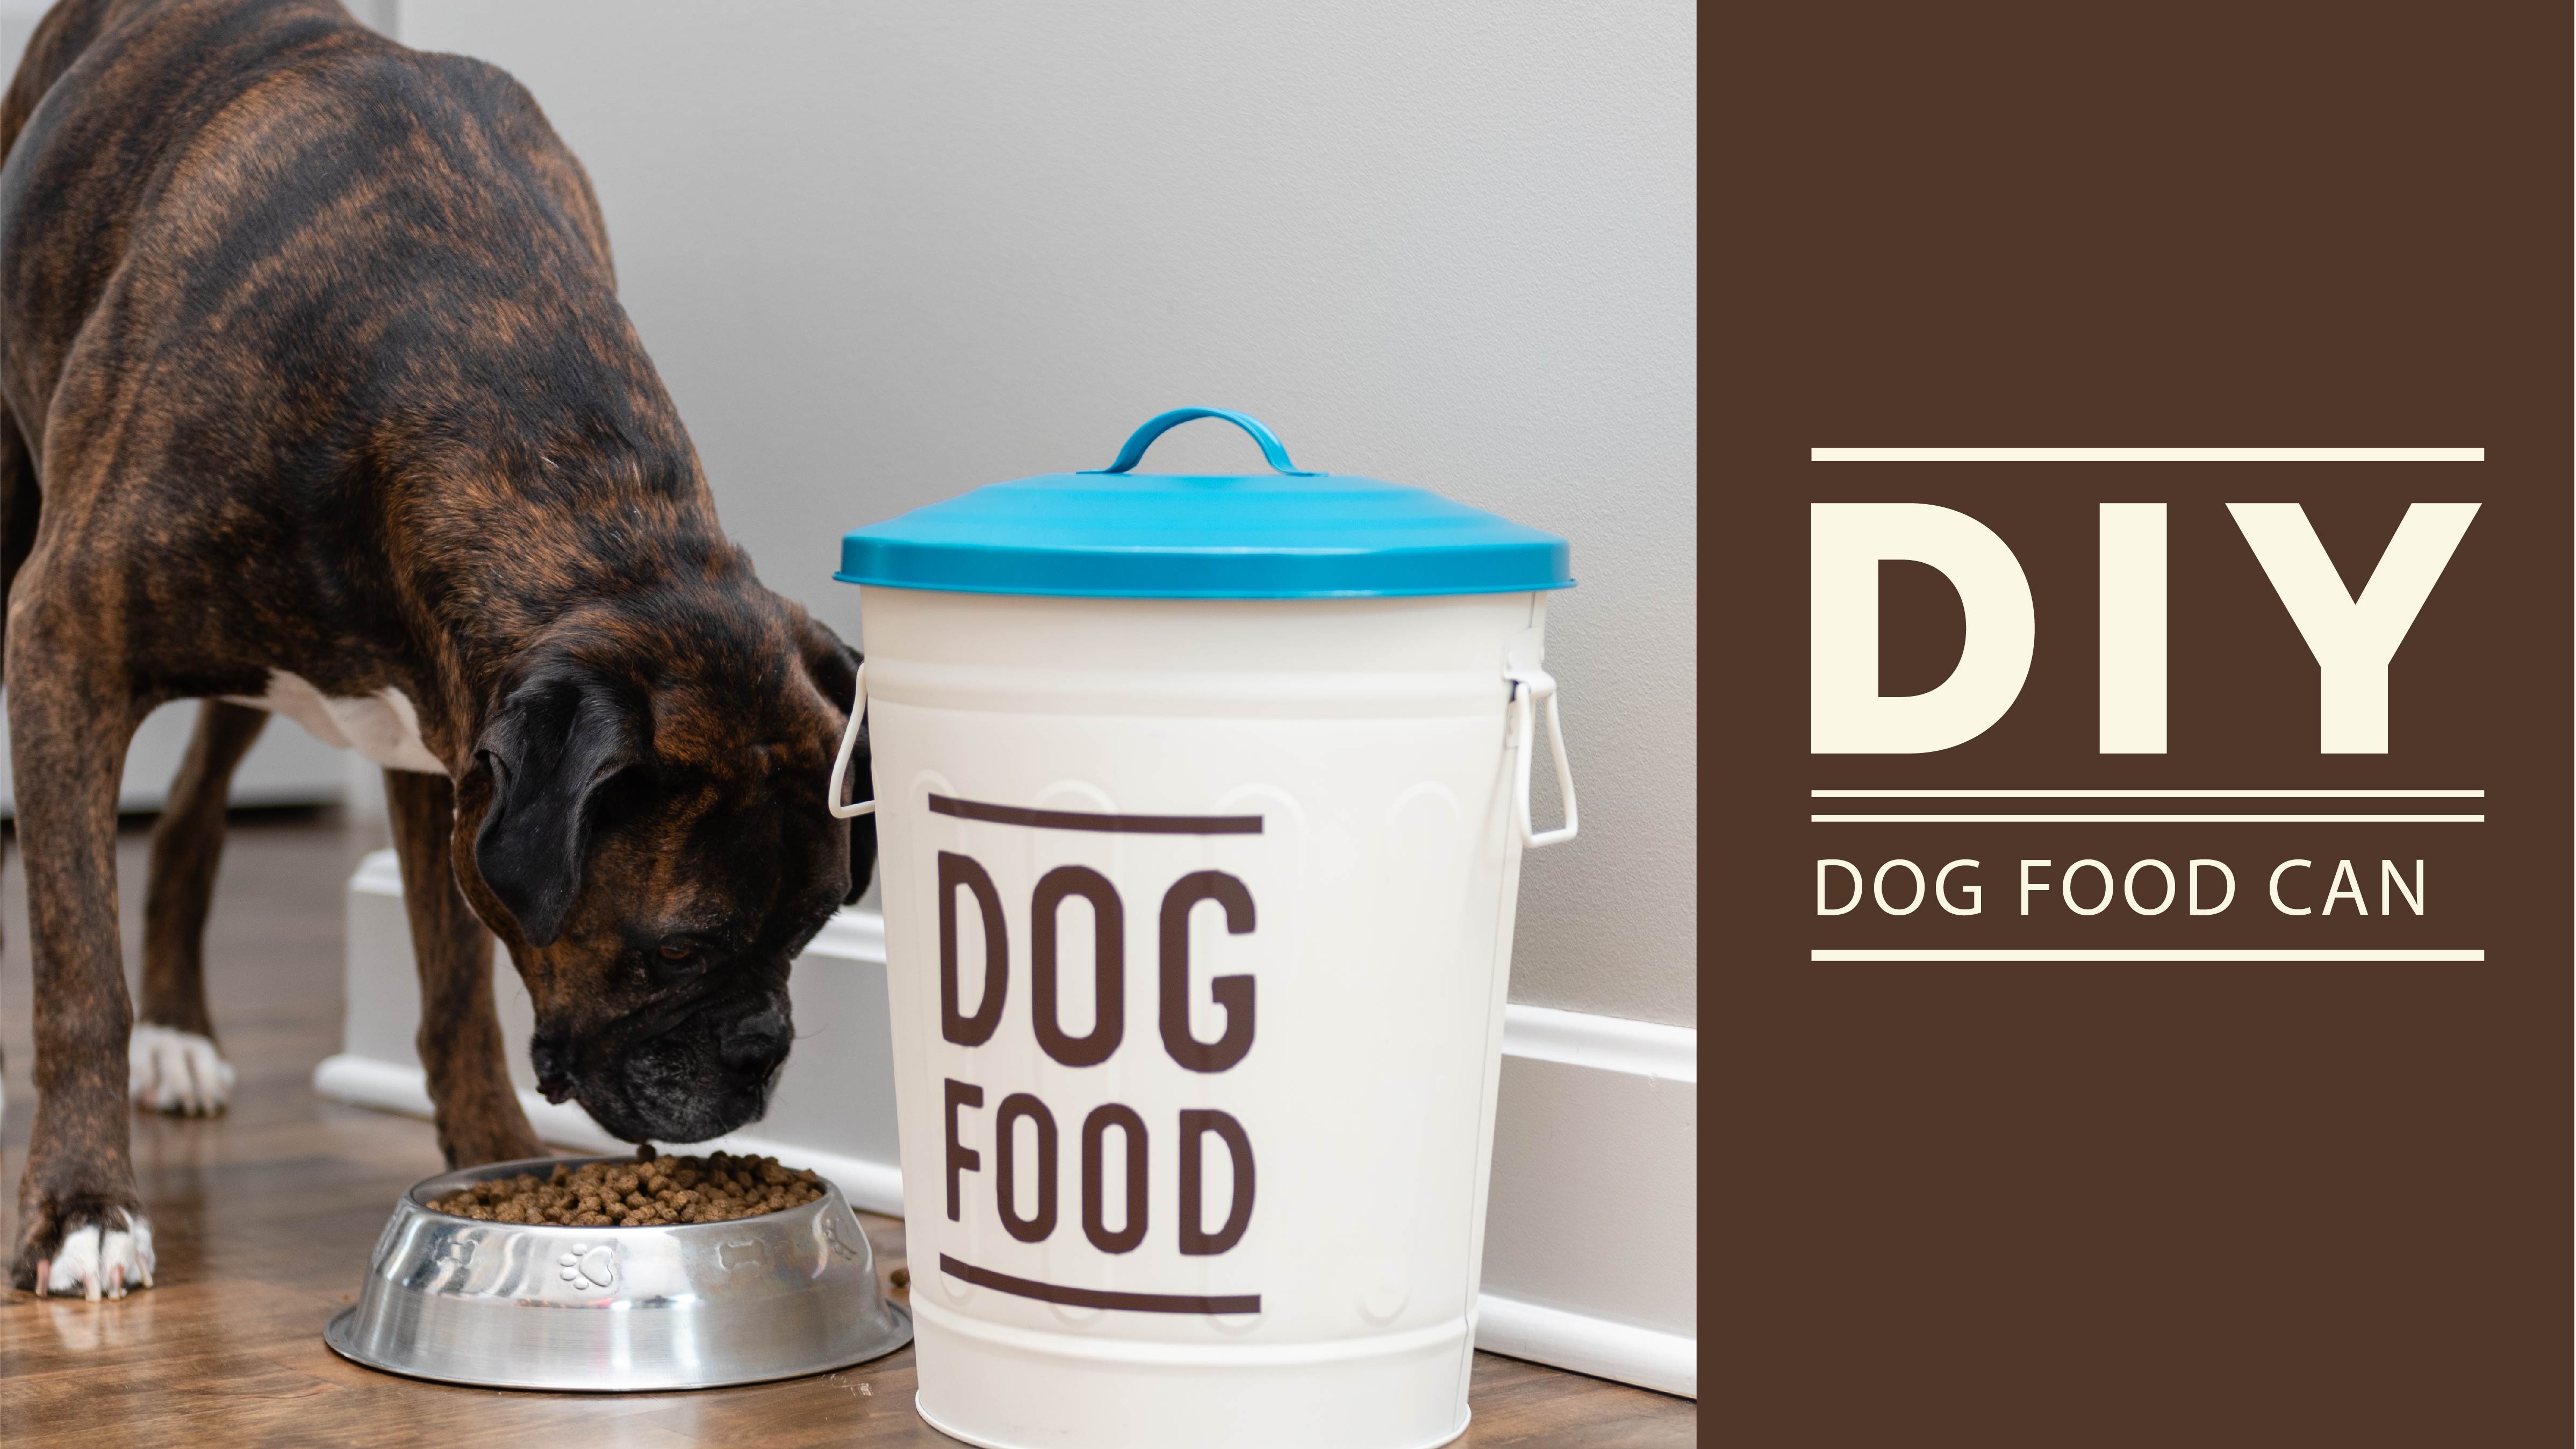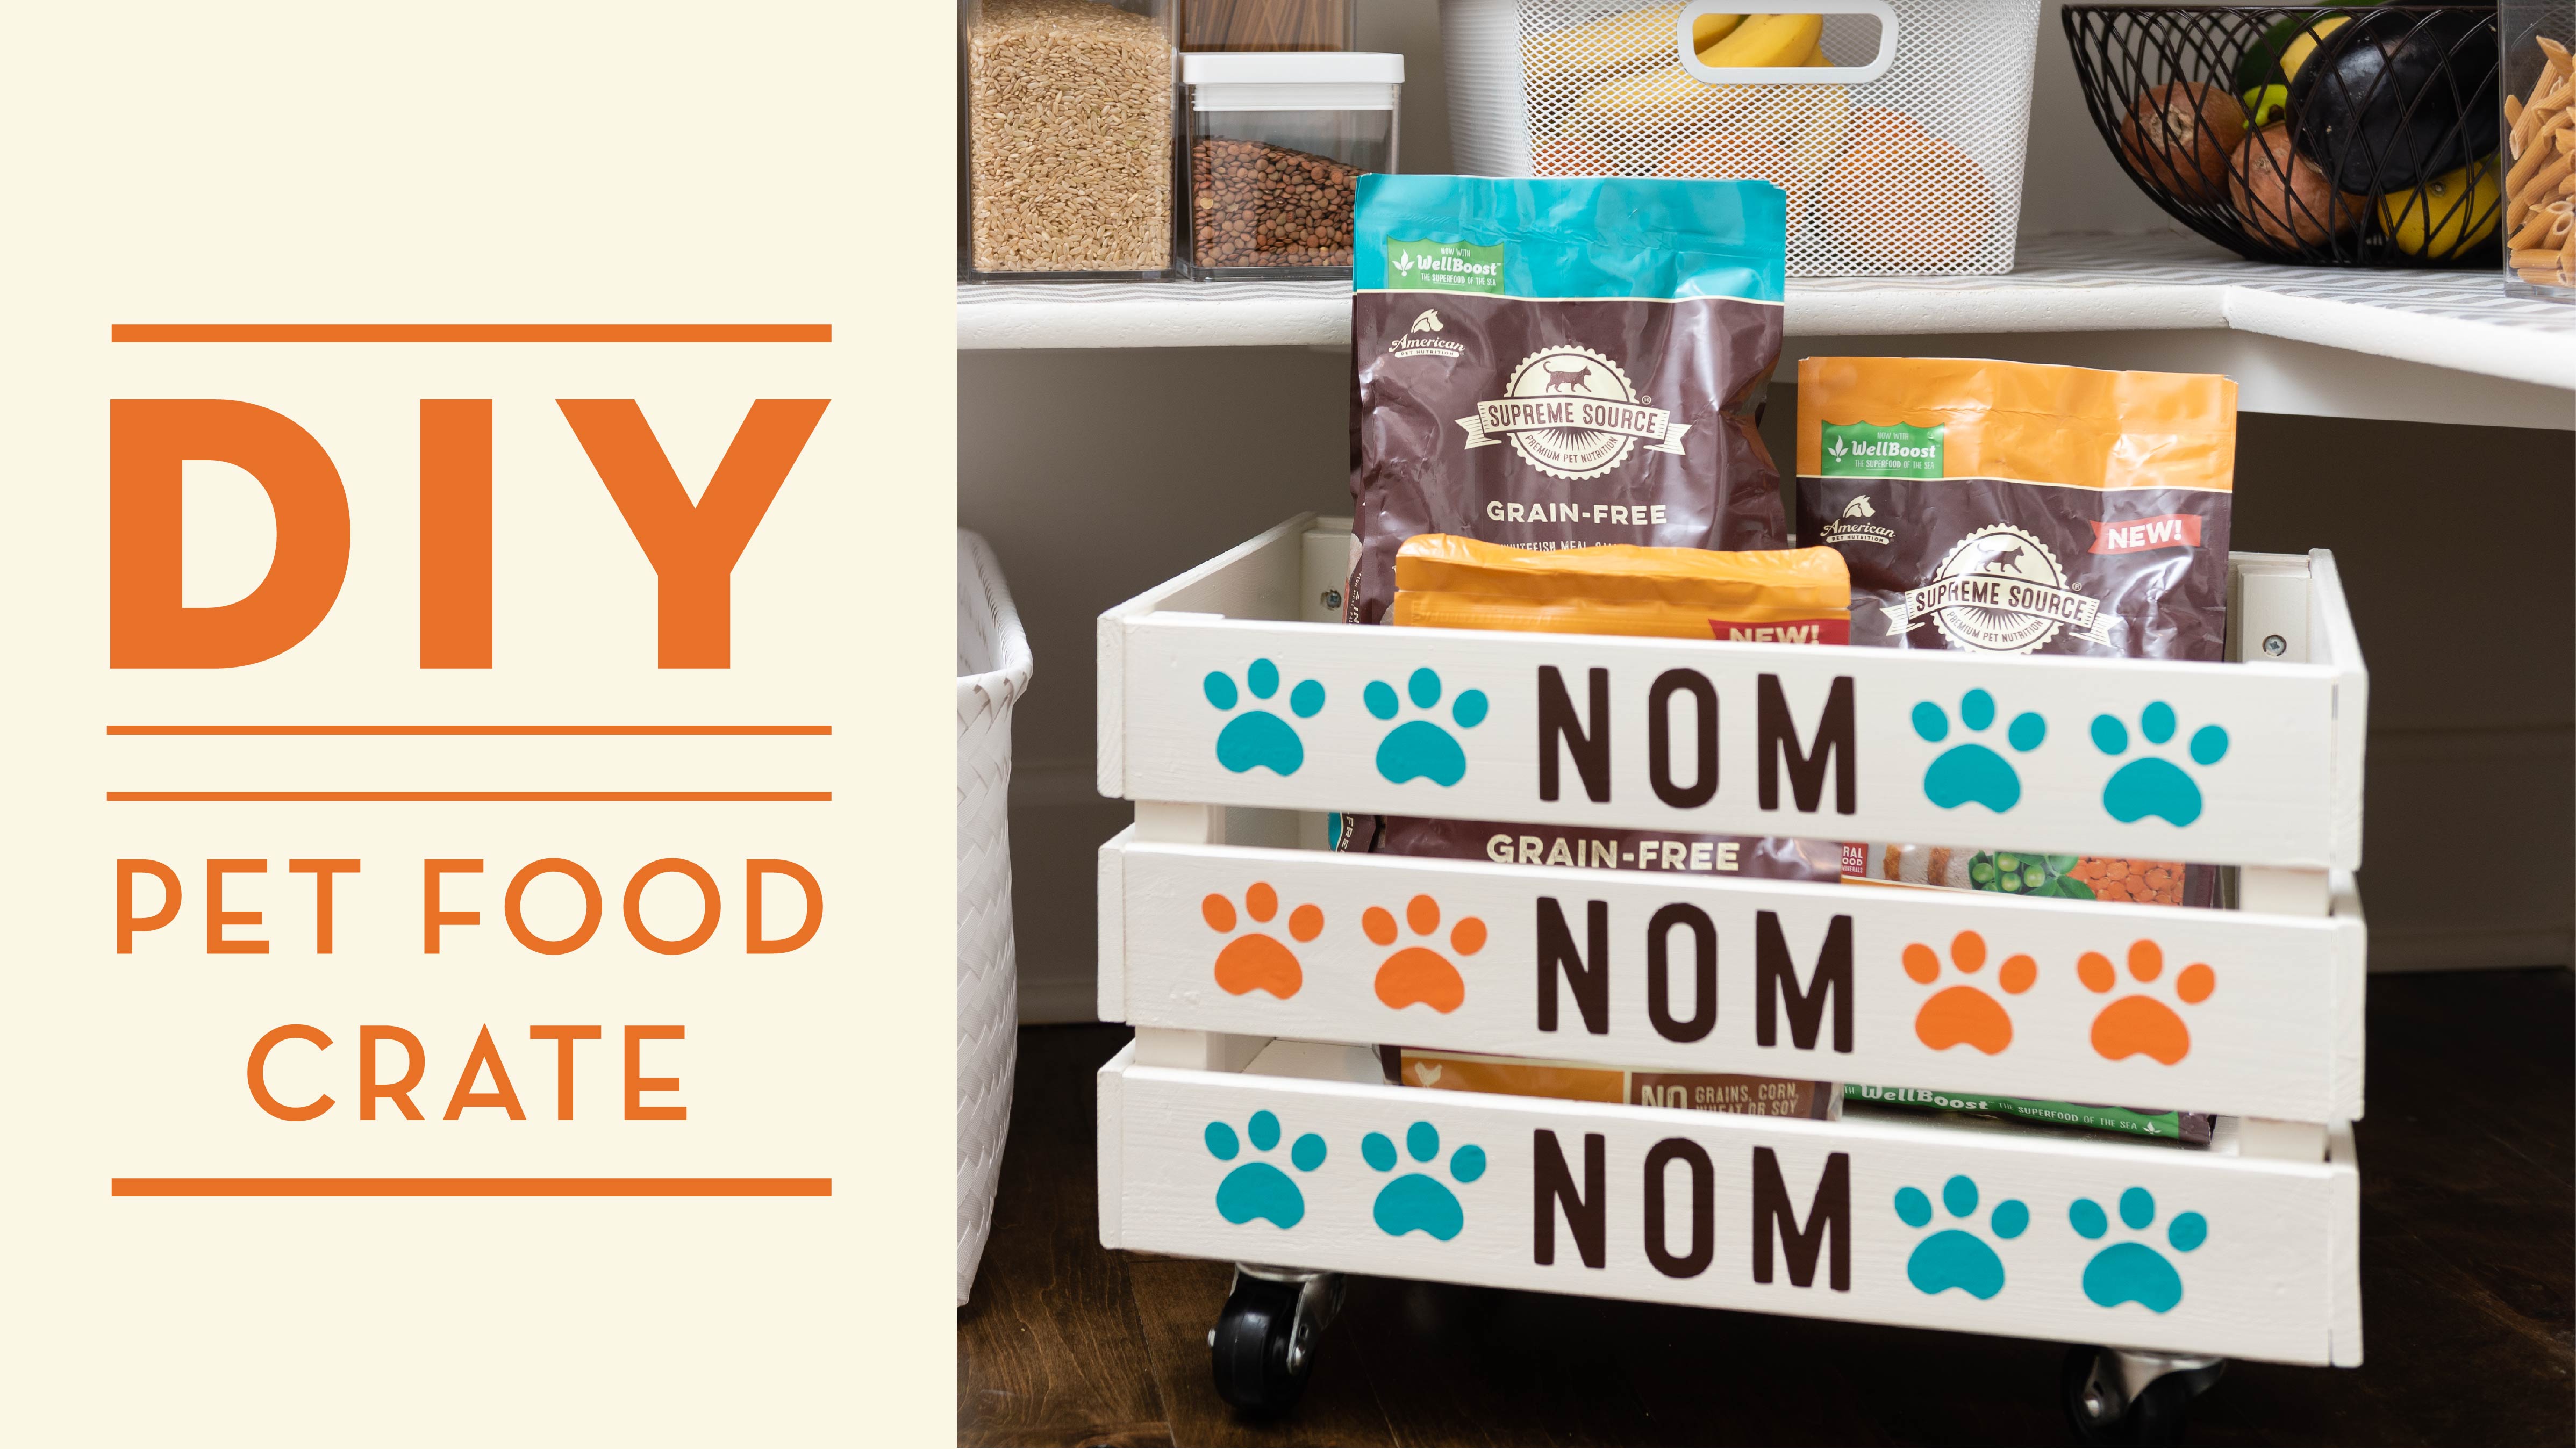
Storing pet food can be difficult, especially when the bags don’t match your decorating aesthetic. This DIY crate is great for those with walk-in pantries and will help get your bulky pet food bags off the floor. Looking for something a little different? Check out this article to see a roundup of more DIY projects.
Supplies:
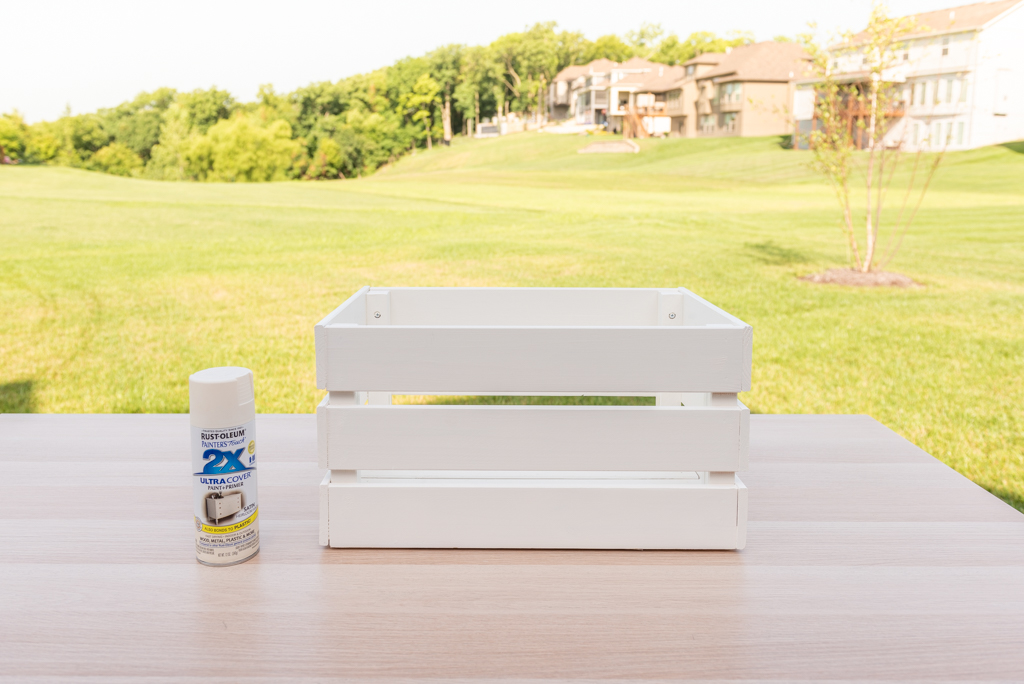
- Standard wooden crate (we found ours at Ikea)
- Spray primer
- Spray paint in choice of color
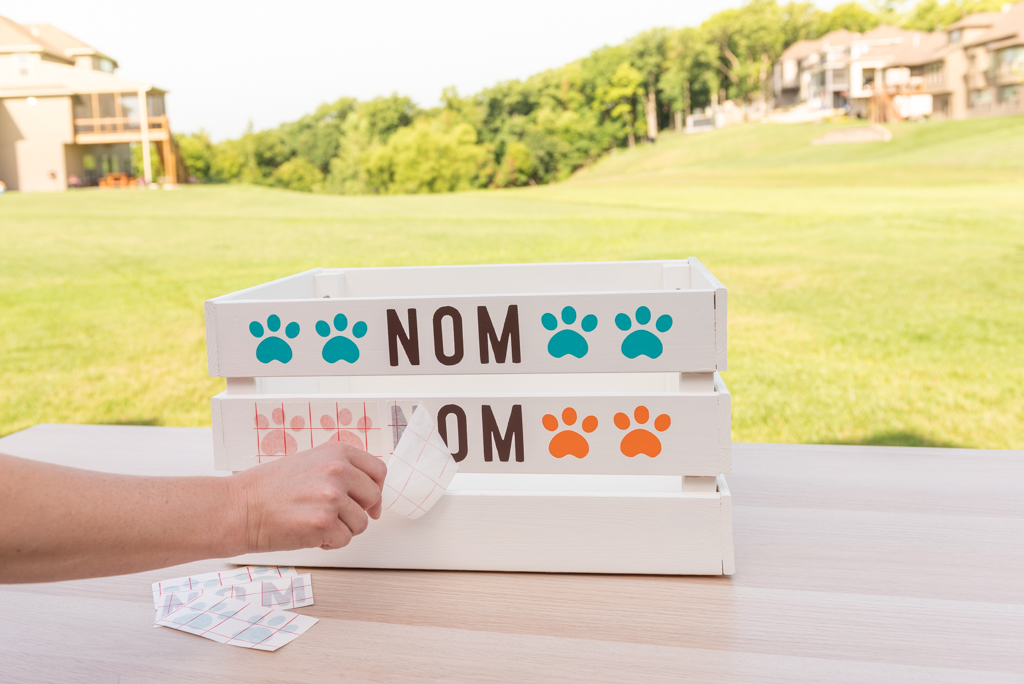
- Custom adhesive vinyl
- Vinyl cutting machine like a Silhouette Cameo or Cricut
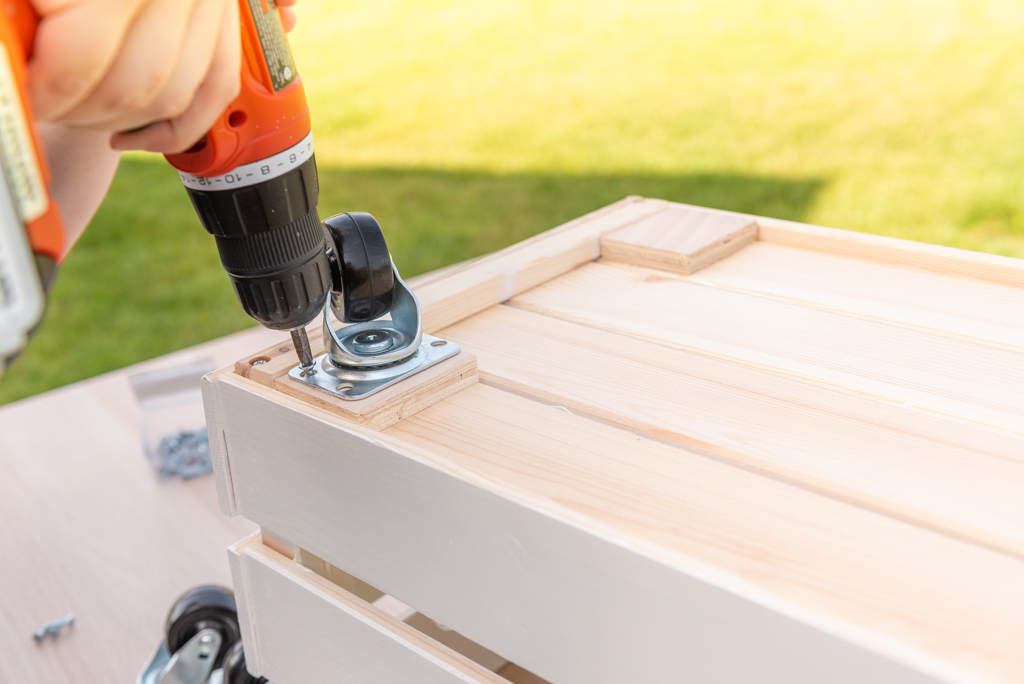
- Four 2” castor wheels with screws
- Power drill
Instructions:
- Start by spraying the crate with primer and let dry.
2. Once the primer has dried, spray paint the crate with choice of color and let dry. You may need multiple coats.
3. Remove the backing off the vinyl stickers. Line them up on the crate and push down to adhere. Peel the top paper off.
- Pro Tip: if you don’t own a vinyl cutting machine, Etsy can be a great resource. Want to use the same design as our crate? Download the custom art file below.
4. Turn the crate over and attach the wheels. We added small squares of scrap wood in the corners to ensure the screws did not go through the bottom of the crate.
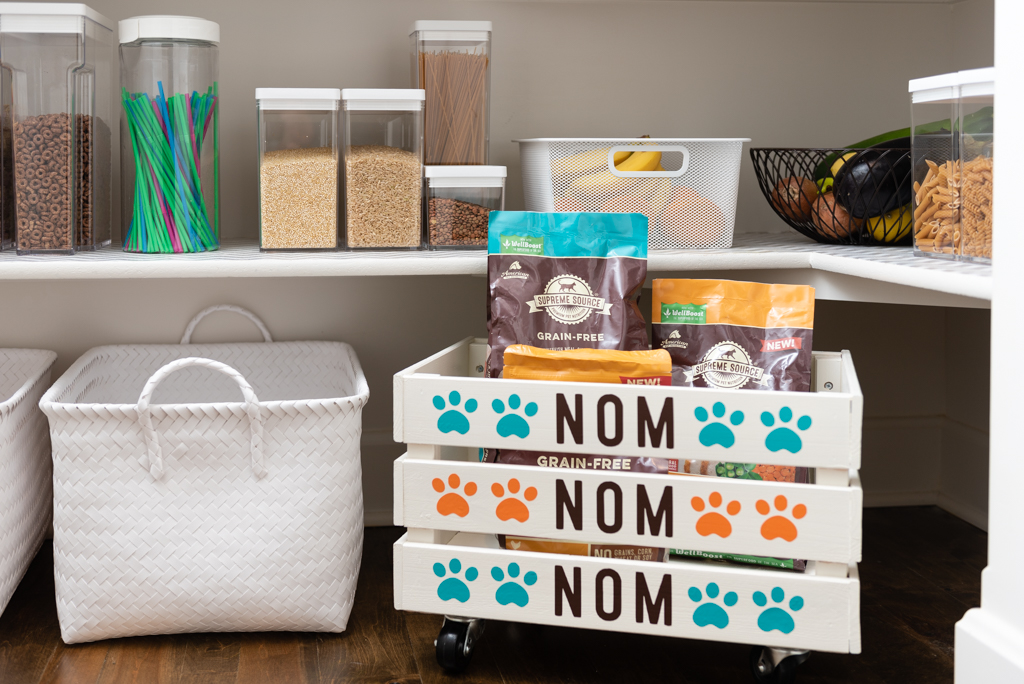
5. Fill with Supreme Source pet food and enjoy your newly organized pantry!
Like our sticker design? Download the custom art file by right-clicking on the image below to save it to your desktop.

Plus, be sure to Pin this image to save for later!